


Electric bikes are great beasts, but unlike your ordinary two-wheelers, e-bikes have their added electrical components, so it takes time to know how to fix them. That is not as simple as pulling out an inner tube for a puncture, so having some guidance on how to fix electric bike problems is critical.
Our electric bike troubleshooting guide will aim to cover the most common issues you might experience in order to get your electric bike back on the road. We hope that everything is plain sailing, and you never have to use the guide, but if you do – we’re here to help.
Right, let’s get stuck in!
Common E-Bike Problems and How to Fix Them
Although electrical bikes are quite sophisticated and reliable, every tool requires TLC from time to time.
Fortunately, most of the common issues you will face can be resolved quickly at no charge. From a faulty controller to an uncharged battery, some common issues occur in e-bikes regardless of brand, type, or model. Here are some problems you might encounter as an e-bike owner, along with a quick DIY troubleshooting guide, so you know how to fix each one.
E-Bike Problems

Motor Connection Issues
Many problems with ebikes come from loose wires; there are just so many electrical components, and being thrown about in the trails will cause the connections to work loose or short out. A very common problem in fact, with the rear hub motor; the location does take quite a few impacts when riding. So if you are not getting the electrical help you were expecting, then check all the connections to the rear hub motor.
For instance, overheating may also happen. It happens when you overuse or use it poorly. Such a situation might make the ends of your wire melt because of overheating. Be careful because if such a thing keeps happening for long, then it will bring serious damage to your whole bike with both the motor and the controller. Catching signs of overheating will therefore do you good by taking your bike to the shop to replace the wires.
E-Bike Controller Not Working
The e-bike controller is that which connects the different electrical components, including the e-bike motor, throttle, pedal assist, battery, and so forth if an LCD is included. It is like a miniature computer, coordinating the functioning of the bike.
Think of it as the brain of your e-bike. If it is not working right, then the brain of your e-bike is not working.
There are a host of issues which may cause the controller problem. These can vary from simply wrong wiring or loose connections to faulty fuses or circuit breakers in the controller, and it might also include the failure of the on/off switch itself.
Whatever the problem, remember that you should not lose your cool. Chances are it is going to be tiny and minor and would resolve itself in minutes. If uncertain, restart your e-bike like you would do with a malfunctioning iPhone. Presuming this does not fix the problem, we outline some of the common troubleshooting fixes for your e-bike below.
How to Check Your Controller
Take these steps to determine if your issue is the e-bike controller:
- If it’s not working, first, check the power switch. Turn it on if it’s not already in the “on” position.
- Check for any improperly connected, disconnected, or loose wiring. If you spot faulty connections, you can connect it on your own. Most bike wiring is color-coded. This implies a blue wire matches a blue port or outlet.
- If it has a circuit breaker, reset it. You can do this by pushing on it. Again, do note that the circuit breaker is there to protect the system; therefore, if it continues to switch out, you might be facing a bigger problem wherein your entire system will need to be replaced.
- If your e-bike has a fuse, check if it is not burned out. In most cases, you may remove the fuse from the holder and hold it up to the light. If it is burned out you will see it and otherwise, you just replace it.
Any malfunctions that have a specific part broken, for example, fuse or a whole system are very improbable if your bike is relatively new. These problems usually arise after you have covered many miles on your bike.
However if you are broken features on a new bike, it may require professional help.
E-Bike Throttle Not Working
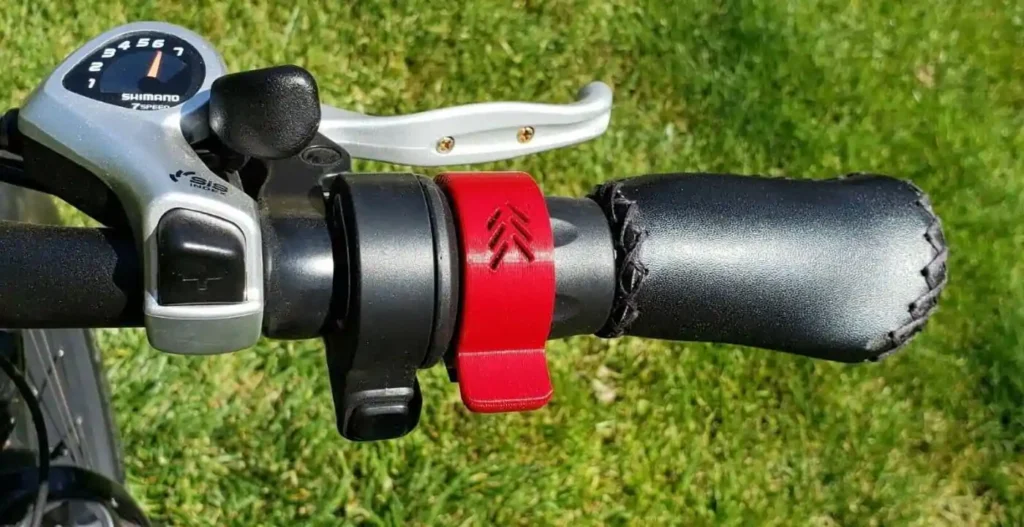
Most have throttle assist and a PAS, or pedal assist system. Throttle assist engages the motor even when you aren’t pedaling, and it will power the bike forward independently. It is what activates the mechanism.
If the throttle is broken, the throttle assist function won’t work.
If you are riding on a Velotric bike, then you are put at the mercy of a throttle and a PAS. Lucky for you, this doesn’t call for double maintenance or work as is required in a bike that has either only one or the other.
Now, having a PAS and a throttle is going to make it more difficult at first to find out where the problem is. Some possible problems can be an intertwined condition involving both parts of the bike. And so, testing both will tell you which one has the problem.
Most of the time, the throttle fails due to overstress or having been overused. You can become wedged in place holding pressure on the throttle for too long, and it will fail to return. The throttle becomes loose or damaged over time as a consequence. You may find that throttle assist simply cuts out while cycling.
How to Check the Throttle
Troubleshoot the throttle by following these steps:
- Check the position of the throttle itself, which will be where you find the handlebars on a bike. A malfunctioning throttle normally gets “stuck” in its rear position or does not have a “pop back” to its normal position.
- Push the throttle back in manually. Test the throttle by checking to ensure it pops right back into position when you push it all the way into the rearmost position in a power failure.
- If it doesn’t snap back into place or snaps back in slowly, that’s the time to replace the throttle.
Once again, if this throttle has been used extensively, replacement should not be necessary unless the bike has seen excessive wear and tear. If it does have to be replaced, don’t worry; it shouldn’t cost an arm and a leg.
ℹ️ Be cautious with your assistance use on hazardous technical sections – the bike’s heavyweight, combined with its immense power, could lead to a nasty accident if you aren’t careful or don’t have the strength to cope with it.
E-Bike Pedal Assist Not Working
The PAS gives a push to power your bike forward when you are pedaling. Most of the bikes being sold in the market have different levels of pedal assists, some with stronger supports than others.
As an example, Velotric’s Velotric Nomad 1 and Velotric Discover 1 have five different levels of pedal assist, otherwise, you just have a regular bike.
We love standard bikes, but we chose an e-bike for a reason. We want the additional features and benefits that e-bikes bring to the table! Thankfully, there are easy fixes for PAS issues, too.
The PAS can have a failure because of a power cutoff, or there may be inconsistency in the power supply. Sometimes, it is just that the point of connectivity is with the pedal of the bike, sprockets, chain paddles, or just the wheels, according to the system. It can also result from the malfunctioning of the magnet ring and sensor present at the front sprocket.
How to Check Your PAS
Here’s how to troubleshoot what is causing your PAS problems:
- If you have recently made adjustments to the mechanical parts of your bike, such as the sprockets or chain paddles, inspect them for loose parts or connections.
- Now, on the front sprocket of the bike, you can see this magnet ring. And this has to be exactly in such a position that magnet plus sensor aligns.
- If the magnet ring has been jostled out of position or is dirty, it may need adjustment. You can move the magnet by yourself by using a flathead screwdriver to insert into the slip rings with gentle pressure close it towards the sensor.
- But in case you still have other problems, the best thing to do would be to get professional assistance from a bike shop. They can find the wrong parts easily and then remove and replace them.
E-Bike Battery Not Charging

If the controller is referred to as a ‘brain of the e-bike,’ then you can say that the battery is actually an ‘e-bike’s heart.’ Keeping the motor running of a bike, it helps the PAS and throttle assist function to work.
If you don’t keep your battery on charging, you won’t be able to have maximum functionality of your bike. It will not start or sometimes only will power off.
It may not be charged to the e-bike battery for many reasons. Perhaps, the fuse has blown, the battery has faded too much due overcharging, or is simply an old faulty battery pack.
The other reason may be that the pins of the battery is not positioned properly inside the charging port such that the electric circuitry cannot be completed when you try attaching your battery to the charging port-resulting in no charge.
How to Check Your Battery
Troubleshooting your e-bike’s electric battery management system entails the following:
- Start by ensuring it’s the charger that is faulty. Connect it to the wall outlet, and it may give you a hint, such as if any of the indicator lights come on. For example, if the indicator light does not come on once you have hooked up the charger to the wall outlet, then it might probably be the case that your charger is faulty.
- Sometimes it’s not the charger itself that needs to be replaced, but rather the port in which you place the charger. To check this, take away the charger and place the battery into the charger port and see if your indicator light is on or off. If the light does not turn on, the wiring in the charger port is bad and needs to be replaced.
- Next, let’s look at the voltage of the battery. If no lights come on on the LED illumination of the e-bike and its control panel, it is likely that the battery has not charged. You can measure this with a voltmeter. How to do that is discussed further below.
- If the battery charges but does not last through use, it may have been overwhelmed (which is dangerous for overheating). You can easily overcome this by pedaling harder while cycling or by reducing your usage of PAS. Overloaded batteries may also be brought about by a poor-quality battery or premature aging (a good battery should have a lifespan of three to five years). If the e-bike battery constantly gets overloaded even when you use PAS less frequently, it may then need replacement.
- Examine the prongs of the battery. The prongs will allow the battery to make a complete electric circuit when the battery charger is used. This is how the battery receives its power. Should the prongs not be fitted together correctly, the circuit cannot close and a charge cannot take place. It is even possible to examine for misaligned pins by using a wrench.
It’s also great to have an extra battery pack in a stockpile. Sometimes we forget to charge our batteries before going on a big ride. Other times, our batteries just don’t work. While we can troubleshoot our battery issues eventually, having a backup battery charged and ready to go means you can ride now and worry about the rest later.
E-Bike Brakes Not Working

Your e-bike brakes are critical for safety reasons so that you can stop when needed.
There are a number of varieties of e-bike braking systems, each differing depending on the form of brake. Reasons for e-bike brake failure depend on the type of braking system, so it helps to know what brakes you have.
Regardless of whether it’s a braking system, e-bike brakes will get worn eventually. The presence of debris in the brake and poor alignment will worsen the case. For example, if the brake pads are damaged or worn out, the smooth and sharp braking may be compromised.
How to Check Your Brakes
How to Troubleshoot Your E-Bike Brakes
- In case you encounter an e-bike problem that doesn’t do anything about the brakes except to suddenly make them stop, check if there’s debris stuck in the brake discs perhaps due to mud or dirt. Clean off the gunk and see if the situation gets better.
- Inspect the brake pads and rotors. Look for signs of wear, scuffing and cracking; replace them if necessary.
- In case of the existence of a bumpy brake lever or cable adjuster, check them on an e-bike. If the brake is loose, then it has to be tightened for being sensitive.
- Now another thing that probably is the fault could be the brake motor inhibitor. If the bike was dropped or jolted on during delivery, the motor inhibitor switch could easily have been stuck in the “on” position. Try to move the brake levers and check if they are stuck. If you can’t even with much force then it’s probably a signs that the brake levers should be changed.
- If you’re not sure what the problem is, take the e-bike to a professional bike mechanic. He can determine if parts need to be replaced or if you need to replace the entire braking system.
Other E-Bike Tips
The more you know about your e-bike, the better you can care for it — and the longer it will last.
Check your e-bike functionality using the below steps.
How to Check E-Bike Battery Voltage
The power of an e-bike is determined by the battery. Old age or deterioration of a battery might be the reason that it’s not putting up the required full voltage capacity. Or if it is a brand new e-bike then simply it means the battery is defective.
These flaws are best found when your bike is still under warranty.
A voltmeter or multimeter can be used to measure an e-bike battery’s voltage. Connect the prongs of the device to the battery, and make sure the positive end and negative end are correctly aligned.
You can also attach the voltmeter to the charger connector of the battery.
The voltmeter will give you the clue whether your battery is discharging any faster than it should be. If it discharges faster, determine when it was last charged.
If it has not been used for six months or less, its top-up is required. If it has not been used more than six months, then it might be faulty.
How to Test the E-bike Battery Charger
Sometimes, it is not the battery but the charger. This can be an easy problem to spot.
You won’t even need to use any tools for this one. Plug your electric battery charger into the wall. Preferably, the indicator light will turn on and stay on steadily.
If a problem does not exist, the indicator light will not come on or fl ashes sometimes. It indicates that the charger is not getting power from the socket as expected.
You can check the usage using a voltmeter. A voltmeter should read a little more than the rated voltage of the charger. The reading on the charger below voltage means it has to be changed.
How To Diagnose E-Bike Wiring Issues
All the parts of your e-bike, including the controller, motor, and battery, are connected with wiring systems. These wires bring power from these key components so when loose, frayed, disconnected, or bad in any other way, then the e-bike may suffer mechanical problems.
To get to all these wiring systems installed on an e-bike, check out the owner’s manual of the e-bike. The e-bike controller, for example, happens to be the most critical wired component, often called the “brain” of the bike.
Check loose or misplaced wires. This is just because they are color-coded: a blue one fits a blue port, a red one fits a red port, and so on.
Sometimes, the culprit might be loose wiring, but other times, the wire may be damaged in various places. A voltage tester is useful in checking a wire’s integrity by moving it along the length of the wire to determine where on it the voltage is dimmed-an indication of damage.
If the issue is a faulty wire, then it has to be replaced. This should only be done by a professional repair shop. They are in the best position to know which wires to change and how to do it.
Other Potential Issues
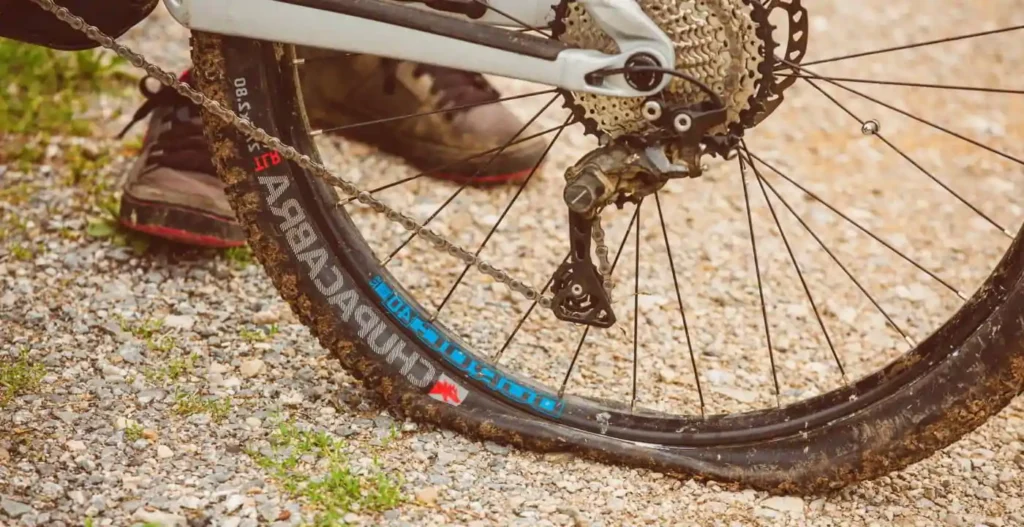
Punctures can happen to any bike, including e-bikes. If you are getting consistent punctures, you could be on the wrong tyres on your e-bike. E-bikes often need chunkier, more durable tyres to cope with the extra weight from the battery, more massive frame and motor. So go for e-bike-specific tyres where you’re allowed to ensure that you keep punctures to a minimum.
How to replace a puncture:
- Take the punctured wheel out of the bike.
- Remove the tyre from the rim using tire levers.
- Change the inner tube
- Put the new inner tube into the rim.
- Put the tyre back on its rim again, using tire levers.
- Put the wheel back on the bike.
Final Thoughts
So, here is our full guide on troubleshooting an e-bike.
It’s a complex piece of kit wherein so many components function together in harmony; it would give you the power up those hills and assistance with those long rides. Knowing what to keep your eye out for and how to maintain those important pieces of equipment means your electric bike lives as long a life as possible and you are also not plagued by frequent problems.
So that’s all this dodgy information you ever needed to know about your electric bike so you can get back on the road seamlessly if you ever have any trouble with it. Now go out and ride. But if you’re interested in reading a post on how electric mountain bikes work, go check that out here.